How to Start a Blog – For Beginners!
In this post, I’m going to explain how to start a blog, step by step. But first, let me tell you WHY you need a blog. I’ve heard so many social media influencers claim that blogging is dead. They are flat out wrong. So, first up, I’m going to tell you WHY you need a blog.
Note: This post contains affiliate links which means, at no additional cost to you, I will earn a commission if you choose to make a purchase.
Then, I’m going to walk you through the simple steps to launch your blog. If you follow the steps in this post, it’s going to take you maaaaybe 10 minutes to set up your blog. Woo hoo!
As part of setting up your blog, you’ll need to sign up for hosting. I’ve been hosting my blog with Bluehost since day one, and it’s been a great experience. So, I’ve negotiated with Bluehost so that all FashionTravelRepeat readers can get their own blog starting at only $3.95 per month. That’s less than a latte!
Alright, read on for my step-by-step guide to starting a blog, for beginners!
Why You Need a Blog
All Social Media Influencers Need a Blog
Number one, if you are a social media influencer, you need to have a blog. I don’t care if you have a huge Instagram following. Yes, I know from experience that most of the brand money right now is on Instagram. That’s not the point.
Hear me out. You NEED to have your own corner of the internet that you actually own. You don’t own your Instagram account.
And while Instagram is my favorite platform too, you should have a backup plan in case your Instagram is hacked or is shut down or gets in a slump because of the algorithm.
Blogging is a Great Way to Make Money
Having a blog is an amazing way to build passive income for those months when Instagram partnerships are scarce. Your blog can include banner ads, affiliate links and can link to products that you sell.
Having at least once source of passive income is key for influencers. Because, we all know that no brands have marketing budget for influencers in January.
Instagram is a great place to score brand partnerships, but having a blog as an additional source of income can make a big difference!
Blogging Will Help You Get Collaborations
Having a blog has opened doors for me that would not have been possible if I was relying on Instagram alone.
In April 2018, I quit my job as an attorney to be a full-time travel influencer. Initially, I was totally dependent on my Instagram following. And it was pretty limiting. Because tourism boards and hotels that I wanted to work with were really looking for a combination of Instagram and blog posts.
I quickly realized that having a blog was going to be crucial to my success in the industry.
I now travel the world as a full-time blogger and influencer. This comes with some incredible perks, like being able to stay at luxury hotels for free, having tourism boards pay for my flights when I travel, getting complimentary meals and activities when I travel, and having fashion brands send me outfits as gifts to wear on my trips. My blog has a huge role in getting me those types of perks.
Pick Your Name
If you already have an active following on social media, this is a no brainer! If your Instagram handle is available as a domain name, use that!
If you’re starting from scratch, it’s time to brainstorm to come up with a name that is :
- unique,
- relevant to your blog niche,
- available as a domain and on your preferred social media sites,
- memorable, and
- has longevity (aka won’t become stale or embarrassing).
I picked FashionTravelRepeat because I absolutely love travel and fashion. And although my niche has evolved to be much more a travel blog than a fashion blog, I still love to travel in style.
Make Sure It’s a WordPress.org Blog
If you want to make money with your blog, it needs to be a WordPress.org site. Period. WordPress.org sites are “self hosted”.
Without getting too technical, self-hosted means that your blog will live either on your own server or you can pay a third party host – like Bluehost – a small monthly fee to use space on their servers. I definitely don’t have my own server, which is why I host with Bluehost.
It is possible to start a blog for free with services like Blogger.com and WordPress.com. But, that’s usually not the best option:
- First off, free services usually are less customizable. So, you don’t have total control over the look and functionality of your blog.
- Second, they also usually include their own name in your URL. So, for example, I’d have to be www.fashiontravelrepeat.blogspot.com rather than the more professional www.fashiontravelrepeat.com.
- Third, most free blog services don’t allow you to make money from display advertising (banner ads) and may even place their own ads on your site that you don’t make money from.
Starting off with a WordPress.org blog from the beginning gives you SO much more flexibility to design a blog that is uniquely you AND that can actually make you money. They also look much more professional, which will help you be taken more seriously by advertisers and brands.
And don’t forget – we want WordPress.org, NOT WordPress.com. Yes, I know that’s confusing.
Choose + Set Up Your Hosting Plan
Let’s get real. I had no idea what I was doing when I started my blog. So, how did I choose a host? I asked around for recommendations and looked on Google, and that’s how I found Bluehost.
Bluehost is one of the cheapest paid hosting options out there, and everyone raves about their customer support. I’ve had no issues with my blog, so I actually haven’t even had to call their customer support. So, a total win-win.
And here’s some exciting news! I’ve reached out to Bluehost and got them to agree to give FashionTravelRepeat readers a discount on their hosting! Who doesn’t love a discount??? When you use this link to sign up for hosting, you’ll pay just $3.95 a month, instead of $7.99.
Here’s EXACTLY how to sign up for hosting and create your blog:
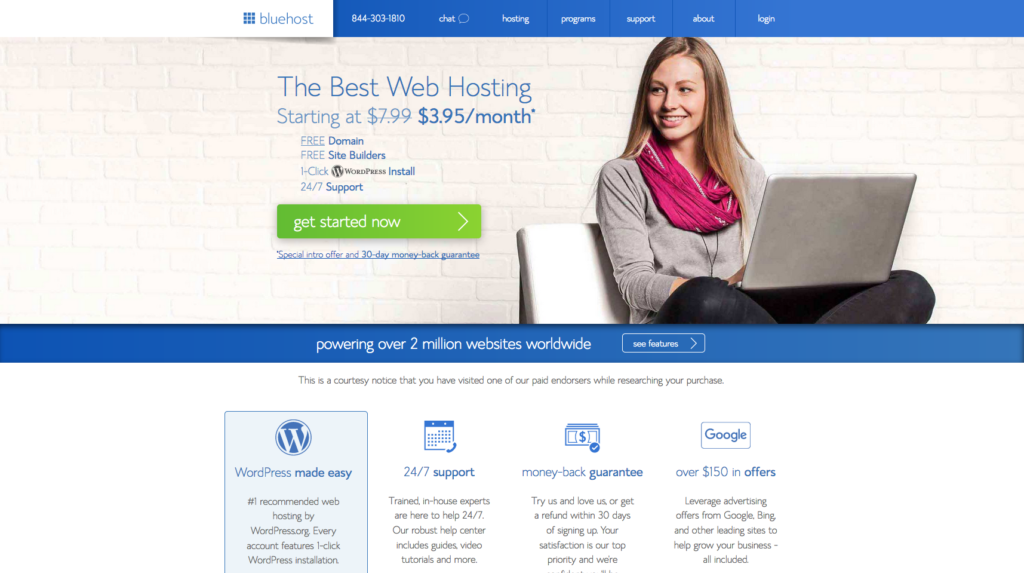
- Go To Bluehost’s Homepage
Head to Bluehost’s homepage here. It should look something like this:
2. Review + Choose Hosting Plan
Hit the button to “get started” now and you’ll be directed to a page that outlines their hosting plans:
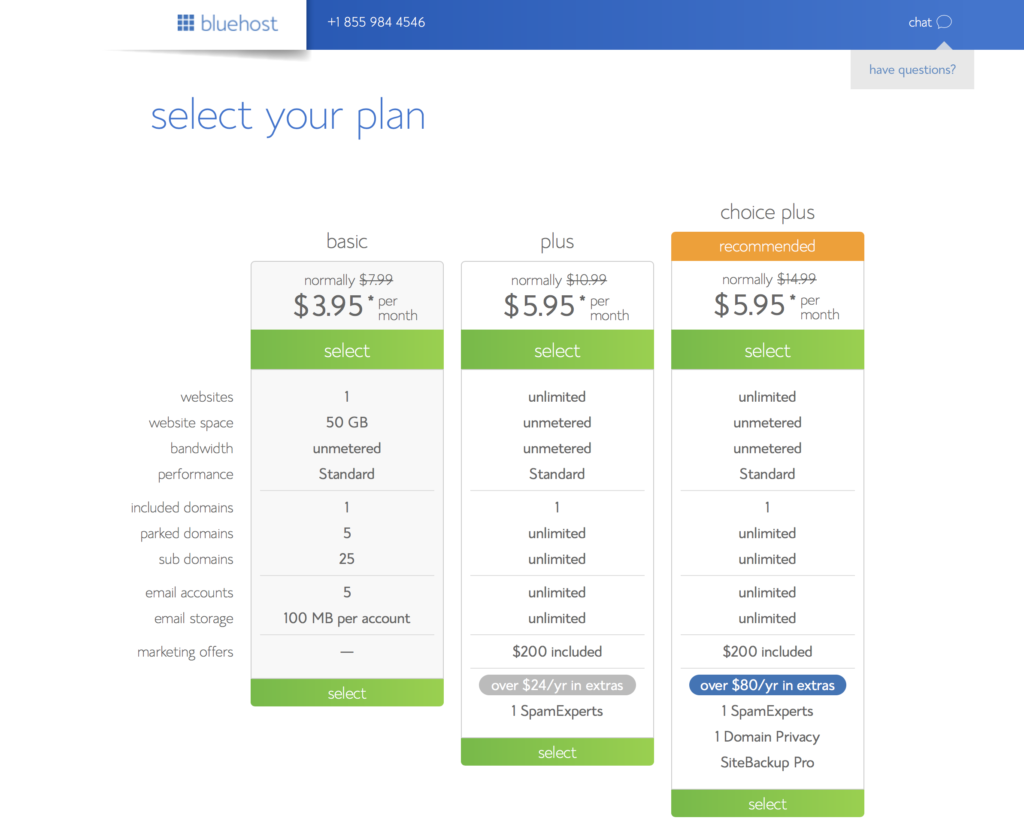
At this point, it probably makes sense to choose the basic plan, which is the cheapest option. If your blog takes off quickly, you can always upgrade to a premium plan later.
3. Sign Up For Domain
Select the “basic plan” and you’ll be sent to the following page:
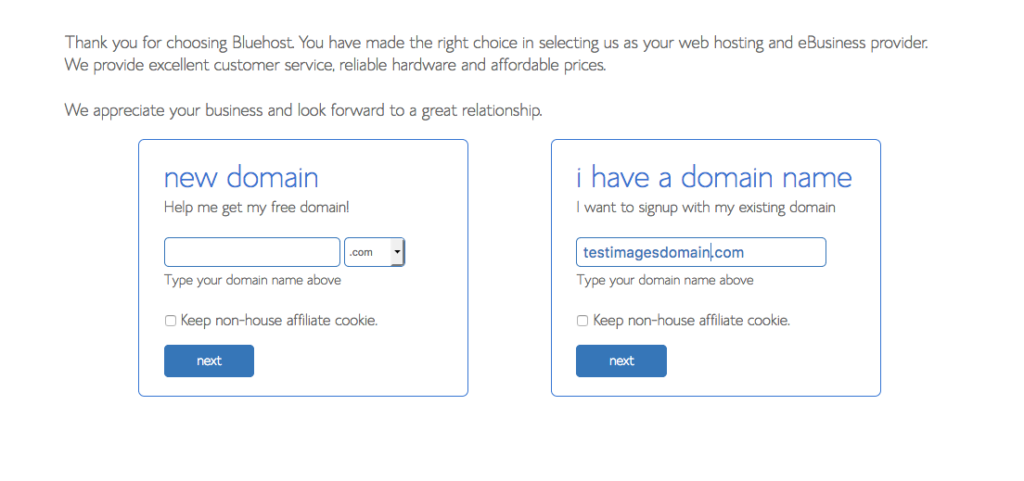
Unless you’ve already bought a domain, type in your chosen blog name in the “new domain” box and click next. Don’t forget to double check the spelling!
If you already have a domain already, you can enter it in the “I have a domain name” box.
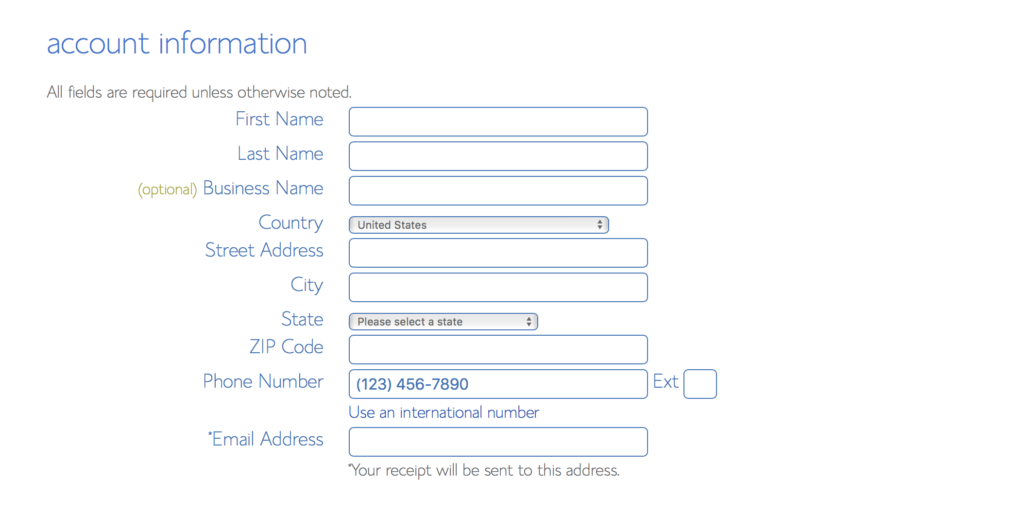
4. Fill in Your Information
You’ll be taken to a new screen to fill in your information. Here’s what it will look like:
5. Select Hosting Package
After filling that section out, you’ll be directed to select your hosting package:
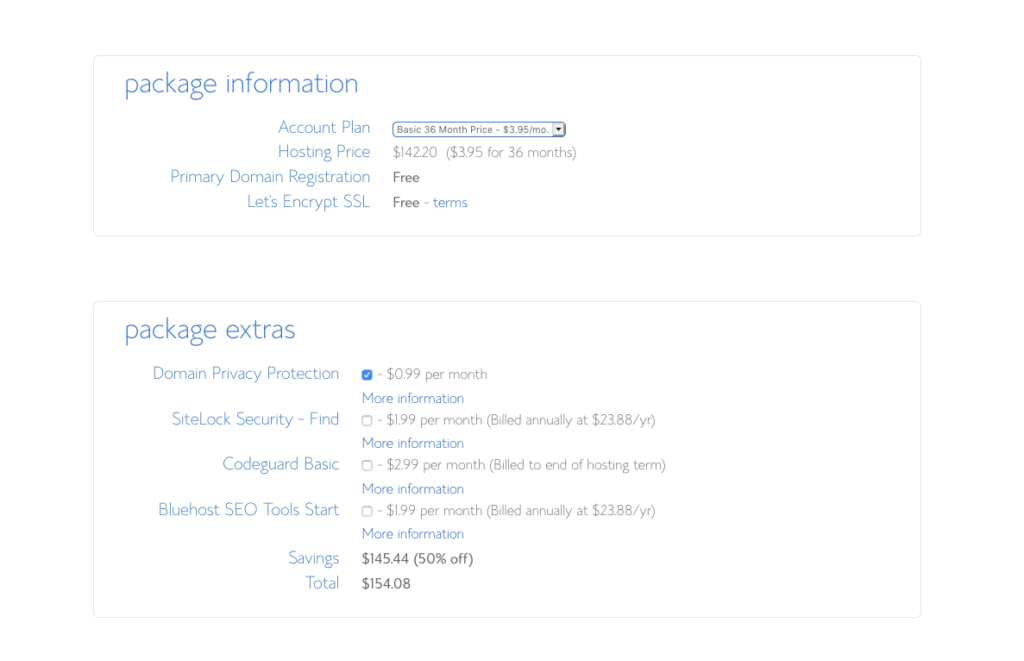
I recommend going with the 36 month plan if it fits your budget, because it saves you money in the long run. By paying up front for the 36 month plan, it works out to the lowest possible rate per month for hosting.
I know that investing in your blog is a big commitment. But, I want you to be set up for success from the get-go. Starting out with the mindset that you’ll still be blogging in three years is going to help you succeed and make that happen! And having a self-hosted blog means you can make money from blogging to – at the very least – cover your hosting costs. But, I bet you make more!
You may also want to pay the extra 99 cents per month for domain privacy. I initially made the mistake of not signing up for domain privacy and my phone started ringing off the hook with offers from web developers trying to sell me their services. Lesson learned – I’m always going to pay extra for my privacy.
YOU DID IT! You’ve now signed up for a domain name and hosting! Pretty easy, right?
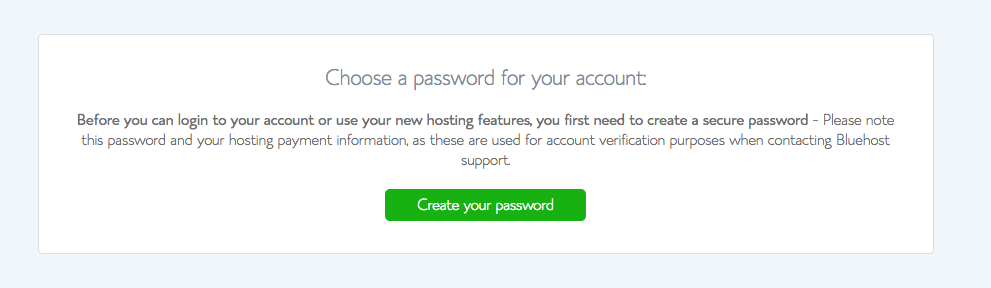
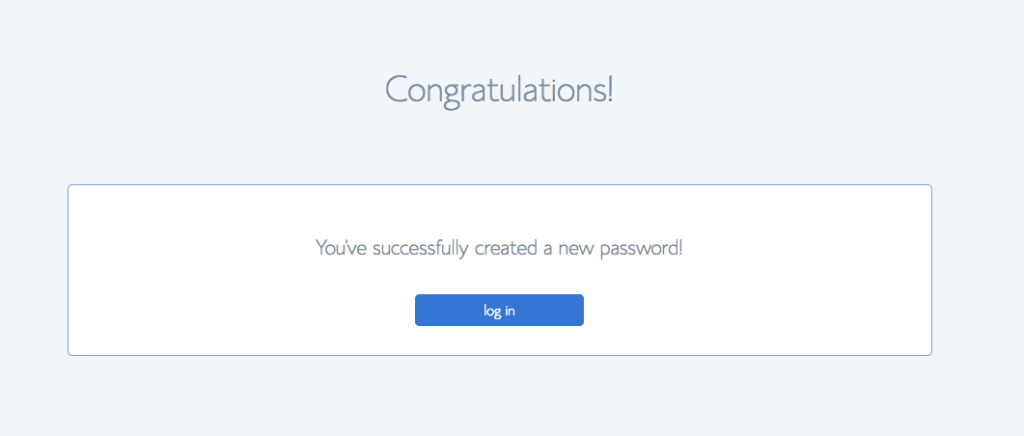
6. Choose Your Bluehost Password
Now, you’ll pick a password for your Bluehost account and be directed through these steps:

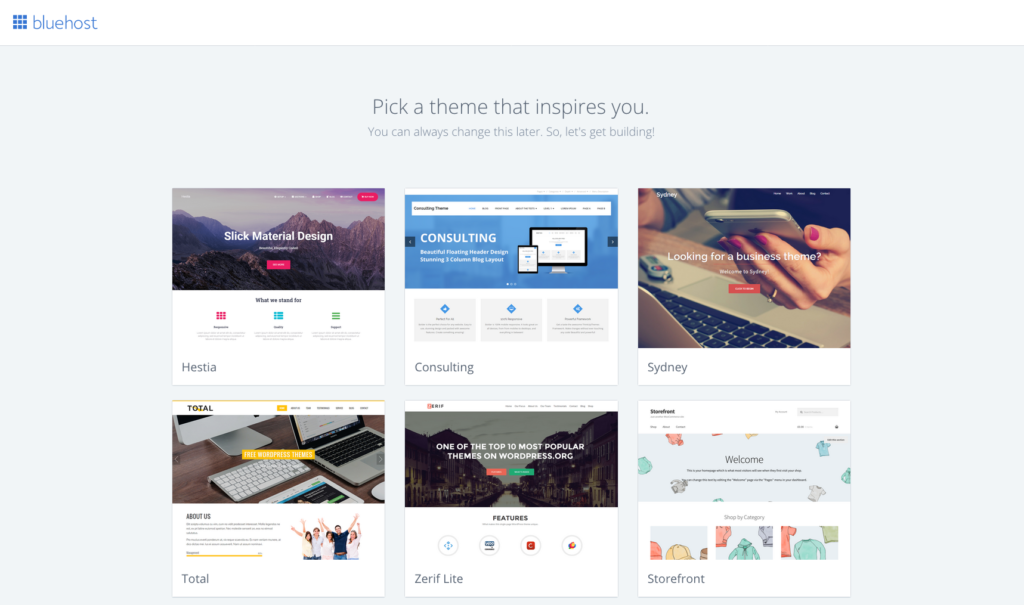
7. Choose Your Blog Theme
You’ll next be directed to choose your blog theme. A theme is the layout and look of your blog. There are so many blog themes to choose from that will make your blog look the way you envision it. Bluehost only has a few options, so you might want to look outside of Bluehost for a theme you love.
Either choose one of the Bluehost themes you plan to stick with, or just pick one as a placeholder and you can change it later:
After initially setting up my hosting, I bought a premium theme that would make my blog look exactly how I envisioned it. Here are a couple of great places to find beautiful blog themes (layouts):
- Themeforest has a ton of themes available. I use their Soledad theme for my blog because it’s super flexible. I can easily change the look of my blog without knowing any type of coding.
- 17th Avenue Designs has beautiful and feminine blog themes. A lot of successful fashion and lifestyle bloggers use their stylish themes!
- Elegant Themes sells one of the THE most popular and flexible themes on the market, called Divi.
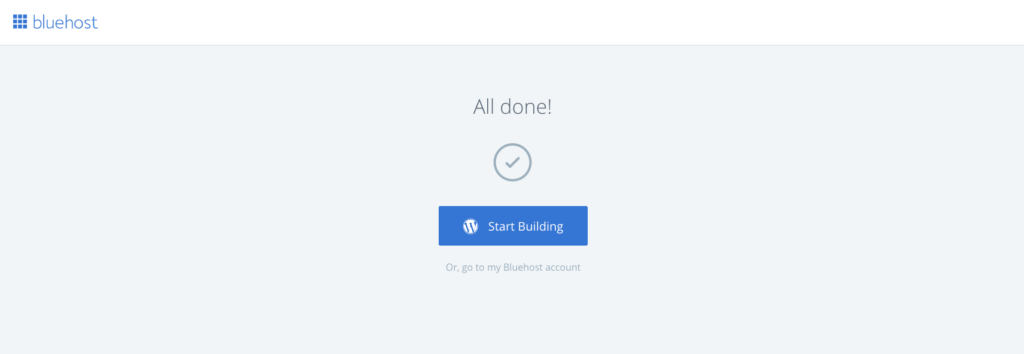
8. Build Your Blog
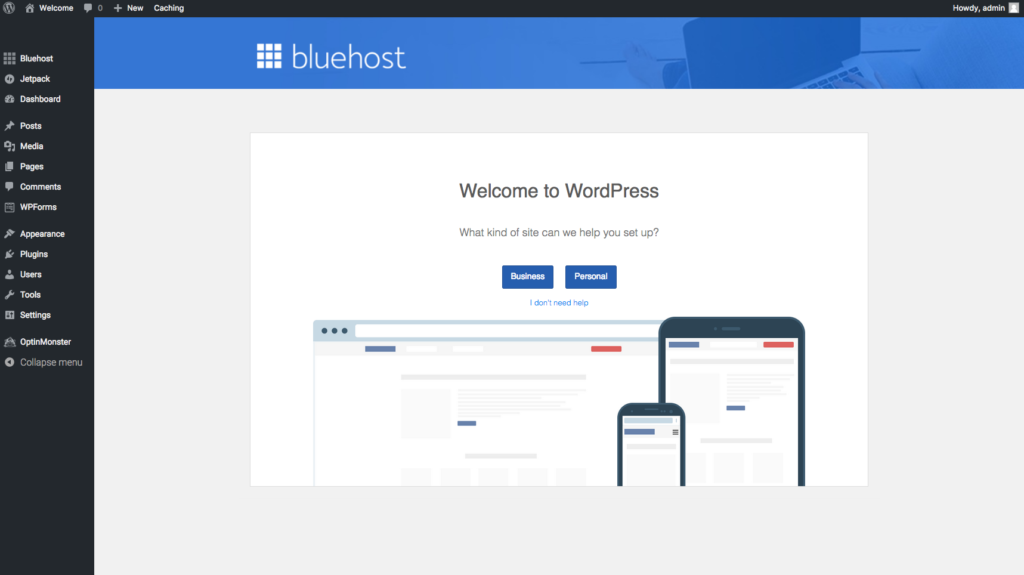
After you choose a theme on Bluehost, you’ll be directed to this screen:
The next screen will ask you whether your site is business or personal. Choose “business” – you’ve just started a blogging business, after all!
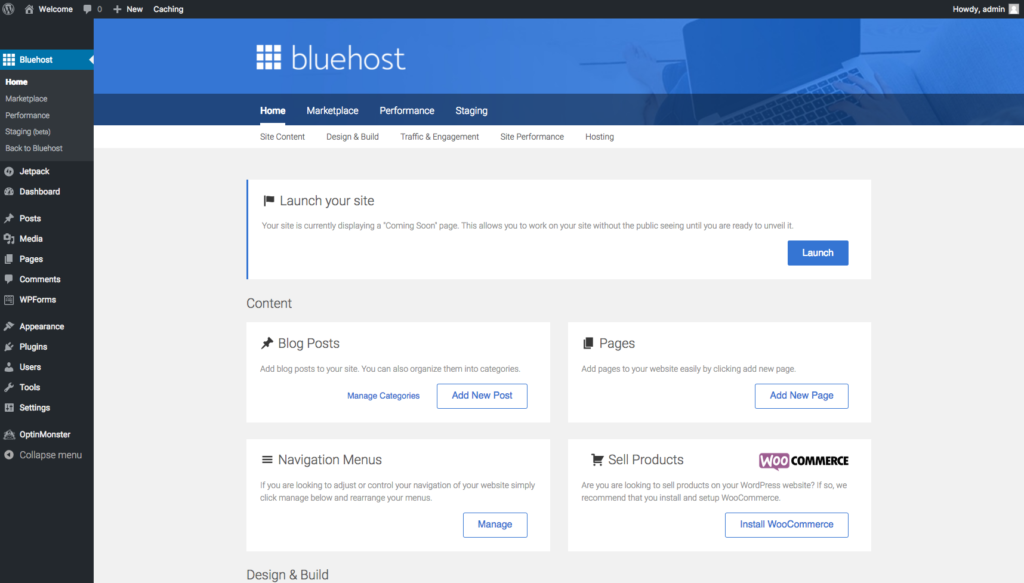
Now, click the option at the top of this page to launch your site:
Finally, put your blog name and your slogan here:
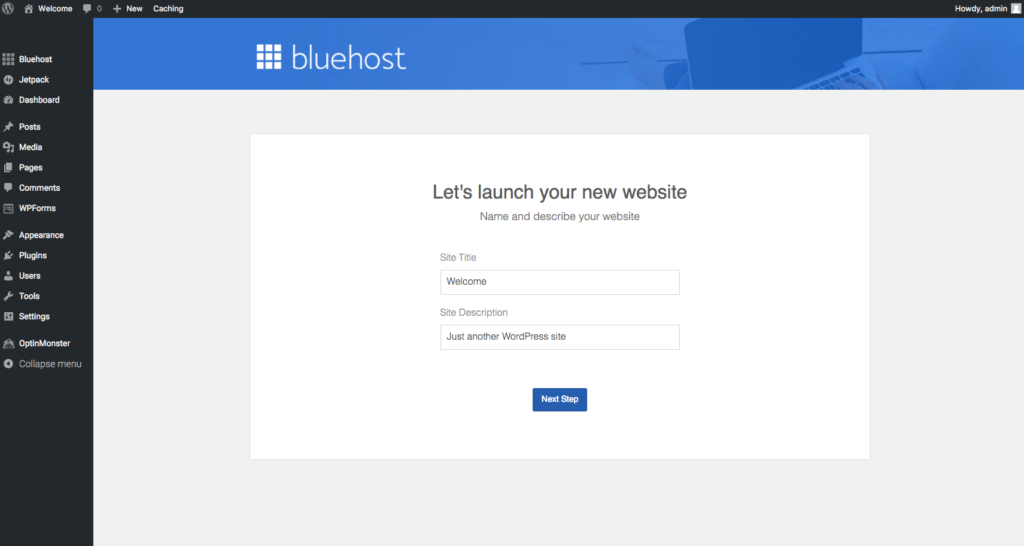
And voila! You have a blog! Congrats!
Customizing Your Blog
Now, I’ll be super honest with you. I found the steps up to this point very easy. Signing up for Bluehost and installing it was simple. Buying my premium theme was easy.
But then, I got a bit stuck with WordPress itself. I didn’t know how to properly install and customize my new theme, and I didn’t know how to create and publish blog posts. And then I started getting frustrated and overwhelmed. That’s not necessarily typical. You may find it smooth sailing from here, I just had no experience working in WordPress and wanted to launch my blog as quickly as possible.
If you get stuck at any point after you’ve installed Bluehost, there’s no shame in hiring a freelancer to help you finish and learn to use your blog.
Fiverr is one of the best networks of freelancers online. If you need help with your blog at any point, you’ll be able to find someone affordable on Fiverr. Freelancers on Fiverr set their own rates and have services at a variety of price points.
After setting up my hosting and buying a premium theme, I wound up hiring a freelancer for a total of $60 to finish setting up my blog, customizing the layout using my flexible blog theme and teaching me how to use WordPress. That helped me fast track to being proficient in WordPress quickly. But again, you may get the hang of it on your own.
Now, I absolutely love blogging and can’t wait to continue to share my travels with my readers. Blogging is a huge part of my life and I hope you enjoy blogging as much as I do.
I hope this guide about how to set up your blog was helpful. Happy blogging!
Pinterest for Bloggers
If you want to learn all about driving traffic to your new blog, check out my post about how how I use Pinterest to drive tens of thousands of people to my blog – each month!
My Free Instagram Class
If you’re interested in growing your Instagram following, I also offer a free class about growing your Instagram and becoming an influencer in your field.
Love This Post? Pin It!